Naive Grunge Elements: How to Use This Creative Collection Without Common Mistakes
What Is Naive Grunge Elements and Why It Appeals to Designers
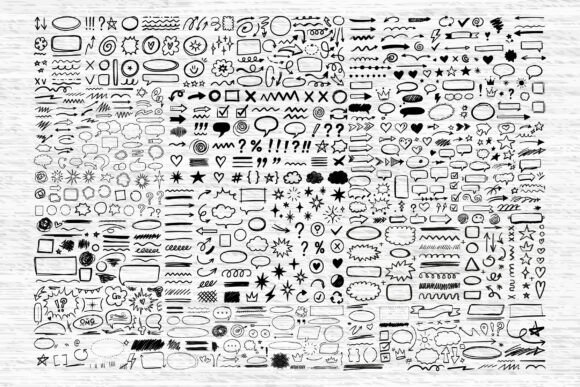
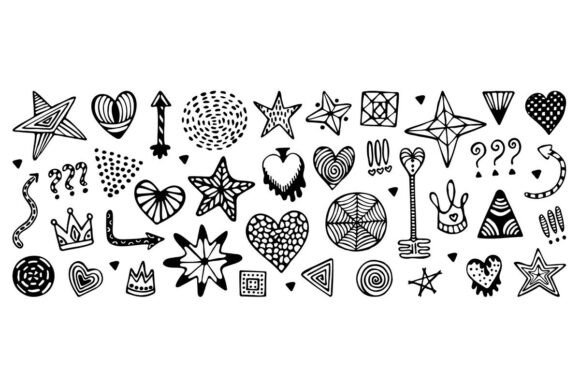
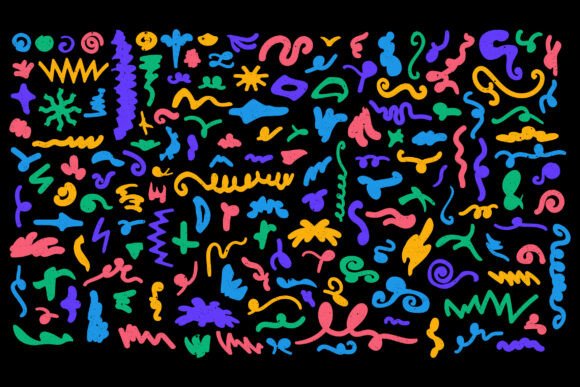
The Naive Grunge Elements collection is a curated set of 150 hand-drawn scribbles, abstract grunge shapes, and textured marks designed to bring expressive energy and raw creativity to visual projects. It's especially popular among graphic designers, illustrators, content creators, and small business owners who want to infuse their work with a handmade, edgy aesthetic. The pack includes scalable vector files (SVG and AI/EPS), as well as high-resolution PNG and JPG files, making it flexible for both digital and print use.
Whether you're designing a streetwear brand, an album cover, or a social media post, this collection offers versatility and artistic freedom. But like any design asset, it's only as effective as how it's used. Missteps in selection, application, or customization can lead to disappointing results.
1. Overusing the Elements
One of the most frequent errors is using too many grunge elements in a single design. While the goal is to add texture and visual interest, overloading a layout with scribbles and abstract shapes can make it feel cluttered and unprofessional.
Example: A poster design that layers five different grunge textures over a background and text becomes hard to read and visually overwhelming.
Better approach: Choose one or two key elements to highlight a specific area, like a border or background accent. Let the rest of the design breathe.
2. Ignoring File Types and Compatibility
The collection includes SVG, AI/EPS, PNG, and JPG files. Each format has its own strengths, but not all software supports every type. For instance, if you're using Canva or Figma, you may not be able to edit SVG files directly, which limits customization.
Example: A user downloads the AI file but doesn't have Adobe Illustrator, so they can’t edit or scale the design properly.
Better approach: Check your design software before downloading. If you're not using Adobe products, opt for SVG or PNG files that are more universally compatible.
3. Poor Color Matching
Many designers drop grunge elements into their projects without adjusting the colors to match the overall palette. This can create a jarring visual disconnect.
Example: A black-and-white sketch element placed over a vibrant neon layout doesn't blend well and looks out of place.
Better approach: Use vector files to recolor elements to match your project’s color scheme. Even minor tweaks like adjusting opacity or blending modes can help integrate the textures more naturally.
4. Misjudging the Style Fit
The Naive Grunge Elements pack is intentionally raw and imperfect. That makes it ideal for streetwear, editorial design, or experimental branding. But it may not be suitable for more polished or corporate design work.
Example: A law firm’s website using grunge overlays might appear unprofessional or inconsistent with the brand’s tone.
Better approach: Consider the tone and audience of your project. If you're going for a minimalist, clean aesthetic, this collection might not be the best fit. Save it for projects that benefit from an edgy, expressive look.
5. Skipping the Preview Step
Some creators jump straight into applying elements without previewing how they’ll look in the final output. This can lead to wasted time and poor results.
Example: A designer uses a high-opacity grunge texture on a printed t-shirt design, only to find that it doesn’t translate well to fabric and appears too dark.
Better approach: Always test elements in a mockup or preview mode before finalizing. Especially for print or physical products, seeing how the textures interact with other design components is crucial.
How to Avoid These Mistakes and Get the Most From Naive Grunge Elements
- Start small: Begin with one or two elements and build up gradually. This gives you room to adjust without overcomplicating the design.
- Check software compatibility: Confirm which file formats your design tool supports before downloading or purchasing.
- Edit for cohesion: Recolor, resize, and layer elements to match your project’s style and color scheme.
- Know your audience: Make sure the raw, imperfect aesthetic aligns with your brand or message before committing.
- Preview before printing: Use mockups or test prints to see how the elements will look in the real world, especially for physical products.
What to Check Before Downloading or Using Naive Grunge Elements
Before you dive in, make sure you’re making an informed choice. Here’s what to look for:
- License type: Is it for personal use only, or can you use it in commercial projects? Always read the licensing agreement carefully.
- File formats included: Make sure the pack includes the formats your software supports (e.g., SVG for web, AI for print).
- Customization options: Vector files allow for more flexibility than static PNGs, so check what’s included if you plan to edit.
- User reviews: See how others have used the collection and whether they encountered any issues with quality or usability.
- Source reputation: Download from trusted platforms to avoid security risks or low-quality files.
Final Thoughts
The Naive Grunge Elements collection is a powerful tool for adding expressive, handmade energy to your creative work. But like any design resource, its effectiveness depends on how thoughtfully and correctly it’s used. By avoiding common pitfalls—like overuse, poor color matching, or format mismatches—you can elevate your projects while maintaining clarity and professionalism.
Whether you're a hobbyist, a freelancer, or part of a creative team, taking a few extra steps to understand and apply these elements properly can make a big difference in the final outcome. So, experiment boldly, but design wisely.